
Setting up InfoTrack integration in Time Matters®
You’ve created your InfoTrack account. Now, let’s get it connected to Time Matters®.
(Requires Time Matters® version 16.5 or higher)
Step-by-step instructions
STEP 1
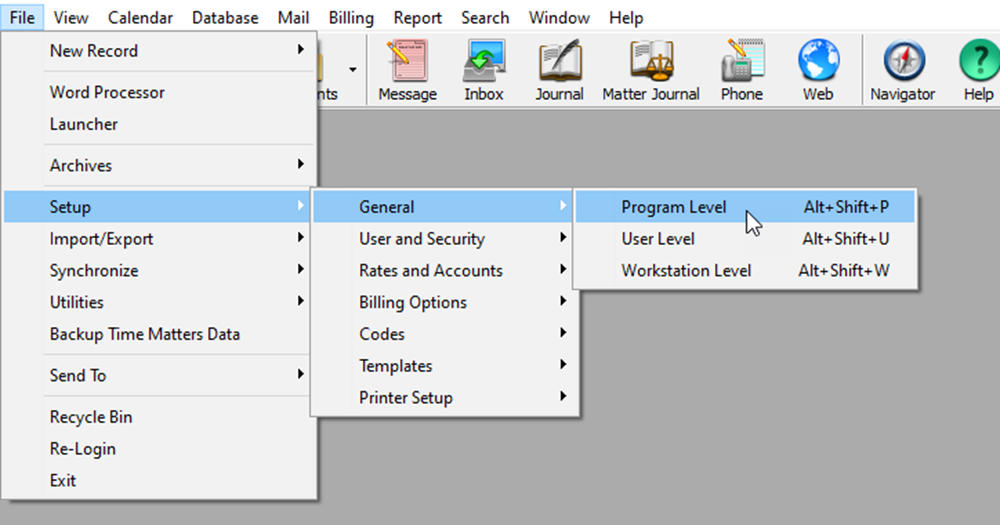
Open Time Matters® and navigate to the top menu.
Click File > Setup > General > Program Level.
STEP 2
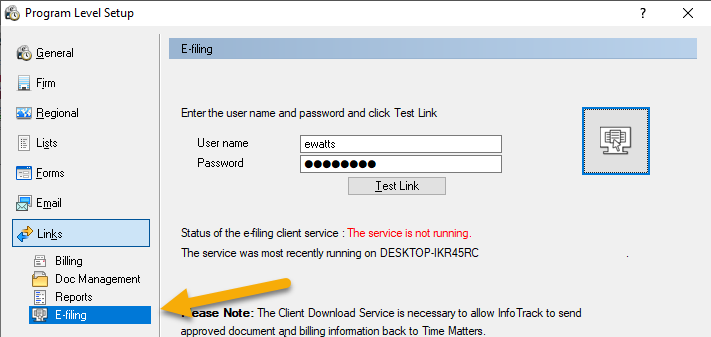
Select Links > E-Filing.
STEP 3
Enter the user name and password you just signed up with.
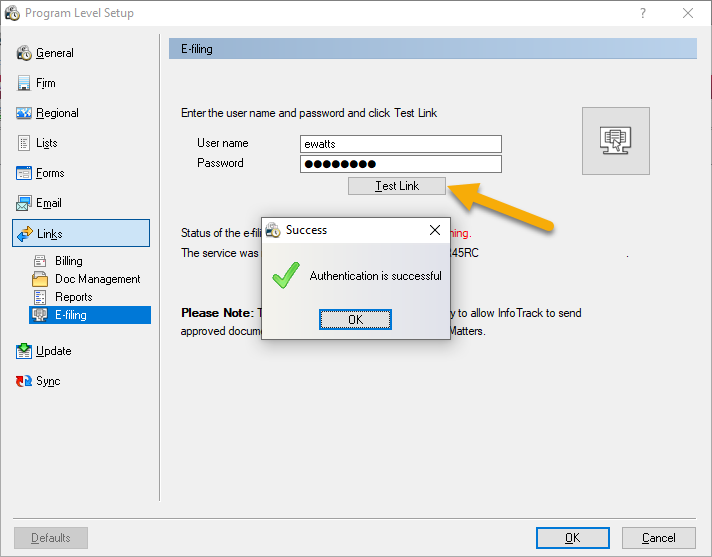
Click the Test Link button, then OK.
STEP 4
To receive documents and expenses from eFiling, a Windows Service must be installed on a machine that is always running. Ideally, this is done on a server.
Run the service installer. During the installation, you’ll be prompted for an install integration key, which is unique to you and your firm.
IntegrationKeyHolder
STEP 5
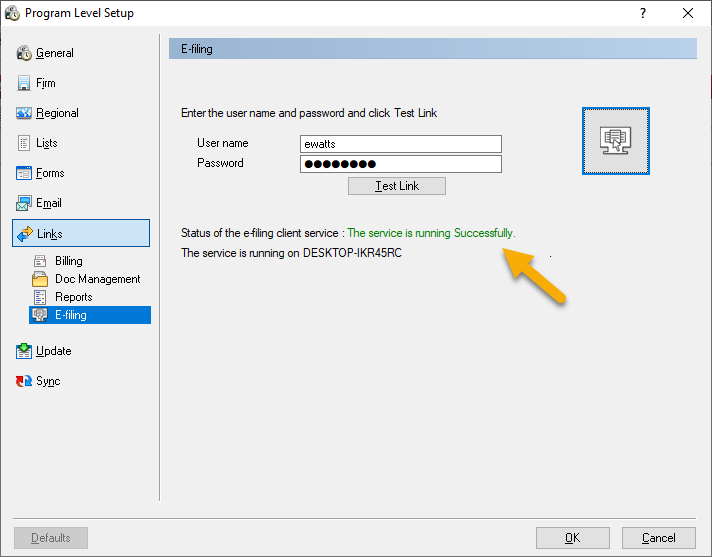
After installing the service, ensure the status is running.
If not, make sure that the two services “ITrack Service” & “Time Matters e-File Liaison” are running.
STEP 6
Now you’re ready to place your first InfoTrack order via Time Matters®.
Should you require assistance with the steps above or placing your first order, please fill out our Contact Us form or give us a call at (844) 340-3096.